
Step 1: Create the Catalog
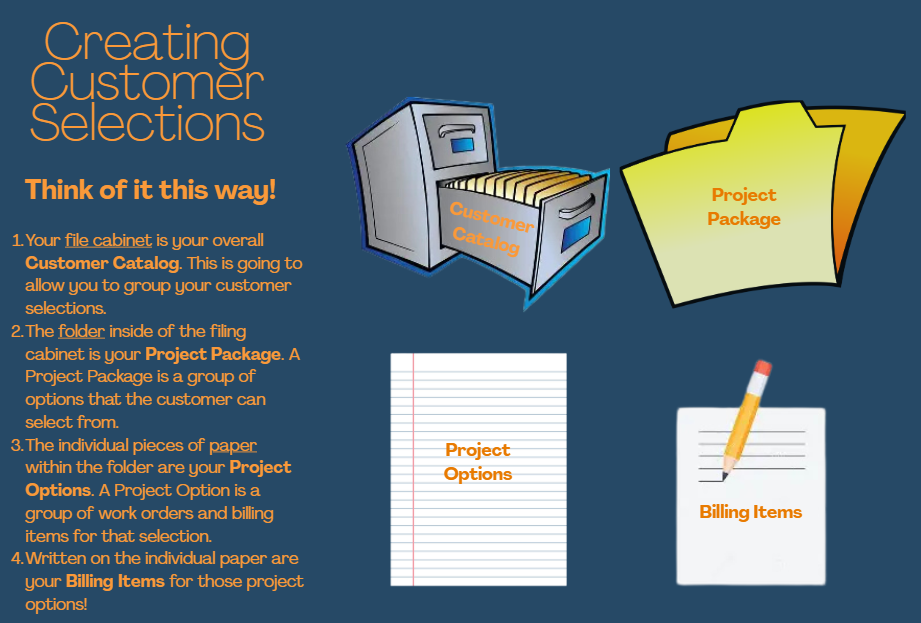
Create customer selection catalogs to organize and group your customer selections. This is where all customer selection options will be maintained.
➡️ See the “Creating a Customer Catalog” video for guidance.
Step 2: Create Project Packages
Create the individual packages of selection options. This groups together each set of customer selection options. (e.g. Appliances, Flooring, Siding, etc.) For this step, just create the package and do not add options.
➡️ See the “Creating a Project Package” video for guidance.
Step 3: Add Billing Items
Add all billable items associated with the customer selection options to the billing item library so that they can be added to the project options.
➡️ See the “Creating a Billing Item” video for guidance.
Step 4: Add Project Options
Create each selection option as a project option to later be added to a project package. The project option groups together work orders and billing items for that selection. (e.g. Project Package = Siding, Project Options = Blue, White, Gray)
➡️ See the “Creating a New Project Option” video for guidance.
Step 5: Assign Project Options to Packages
Add the project options to the appropriate project packages.
➡️ See the “Updating a Project Package” video for guidance.
Step 6: Add Package Details
Add images and descriptions to show customers what each option includes.
➡️ See the “Adding Details to a Project Package” video for guidance.
Step 7: Assigning project packages to a project.
Add each project package to the project that you want the customer to make a selection on.
➡️ See the “Adding a Project Package to a Project video for guidance.
Was this article helpful?
That’s Great!
Thank you for your feedback
Sorry! We couldn't be helpful
Thank you for your feedback
Feedback sent
We appreciate your effort and will try to fix the article